|
I mounted a 5.9 gallon propane take to the underside of Devandra. Its this tank, meant for a Volkswagon Eurovan. This project took about 3 days from start to finish. Welding the brackets would have been much faster, but I made it work without having to hire someone to weld them. Instead I took part in the painstaking process of drilling thick-gauge hardened steel. I went through 2 bits, one of which was $17. I learned that to drill metal, you need the right bits (expensive!), to go very slowly and take breaks (about 15 seconds of drilling, then let the bit cool off until you can hold it in your hand) and use a cutting oil! The Brackets need to be 3" tall. The tank is 8" in diameter but the mounting lips are mounted an inch higher then center. The brackets I got where 6" L brackets. In the photo I cut one end of one of the brackets a little shorter then 3" (to make up for the gauge of the bracket itself). Obviously I am going to need to cut more off both brackets in order for a a second set to fit on the right side. 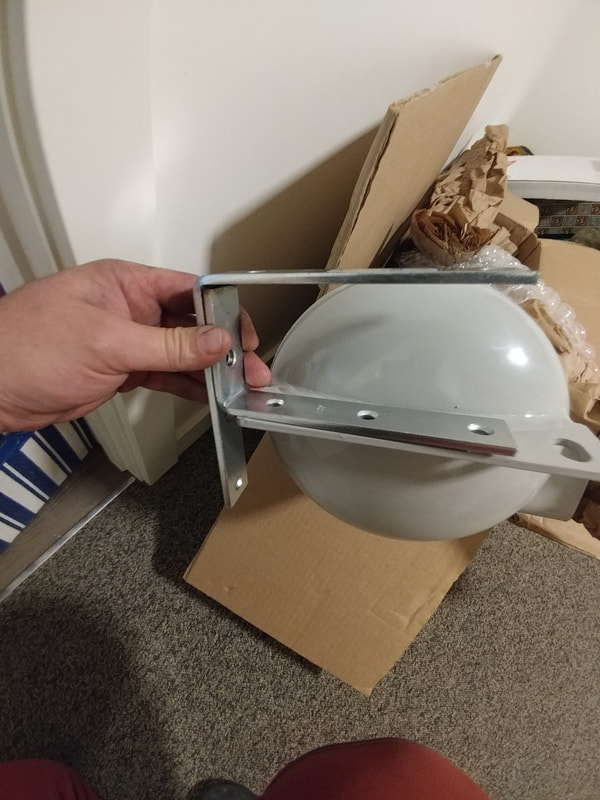 Here is a rough idea of my design. The holes on the tank are 6" apart from each other going East-West, and about 31" apart going North-South. I tried to drill as few holes as possible in Devandra, especially in the support beams. I only needed to drill one hole on one support beam. Other then that, I used the pre-existing holes in the support beams. You still need to drill holes through the floor though. There are 6 bolts going through the floor. On the end closest to the front of the van, there are 2 bolts that are about 10" long. They go all the way through the 3 inch brackets and through the mounting holes on the tank. Towards the back there are the other 4 bolts, about 5.5" long. They each secure two strips of steel, which in turn secure 4.5" bolts, which are the bolts that hold the tank and brackets on this end. 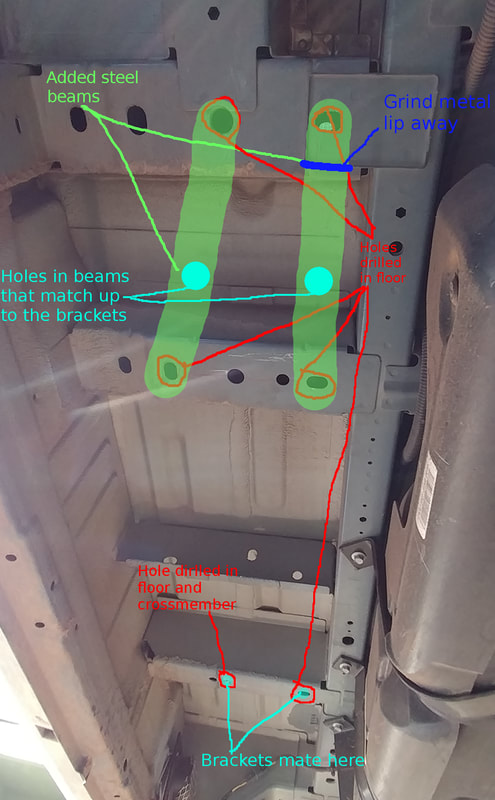 My method for cutting and drilling without a proper workbench. I hope my apartment complex doesn't hate me after making all this noise! 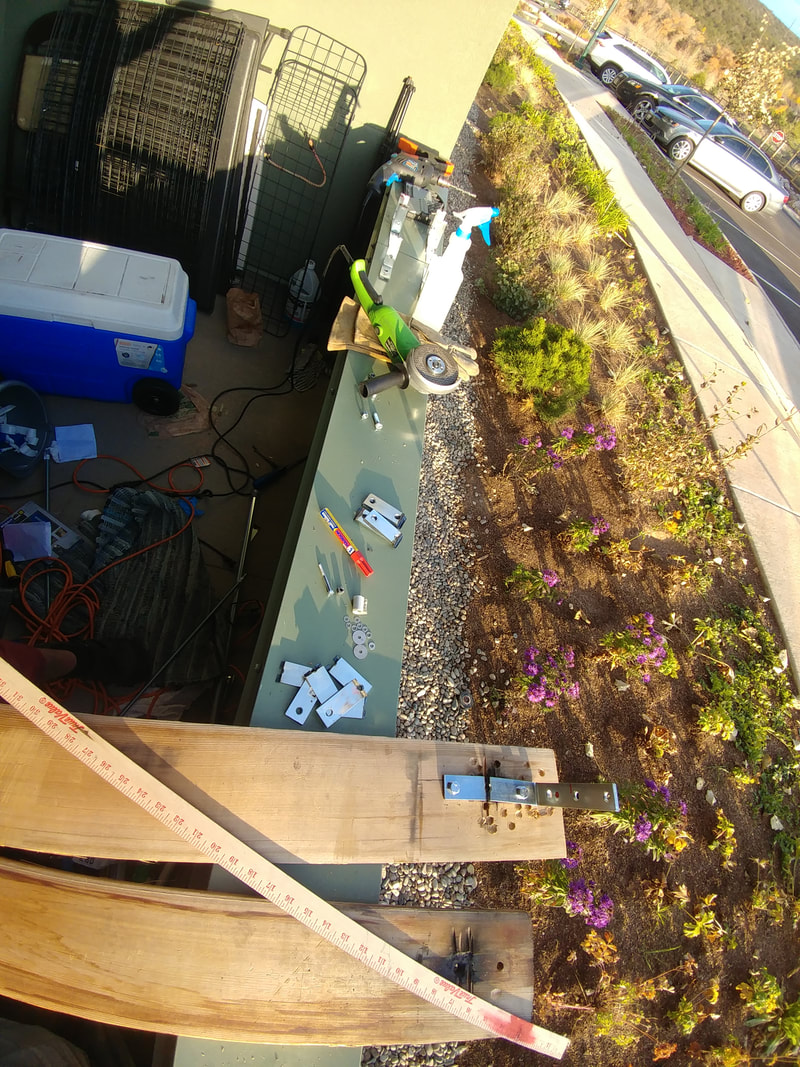 The holes on the L brackets needed to be drilled from 3/8 to 1/2 in order to fit my mounting hardware. Further, I needed to add a hole to the back (vertical) section of the L brackets in order for the holes to meet up with each other after shortening the length 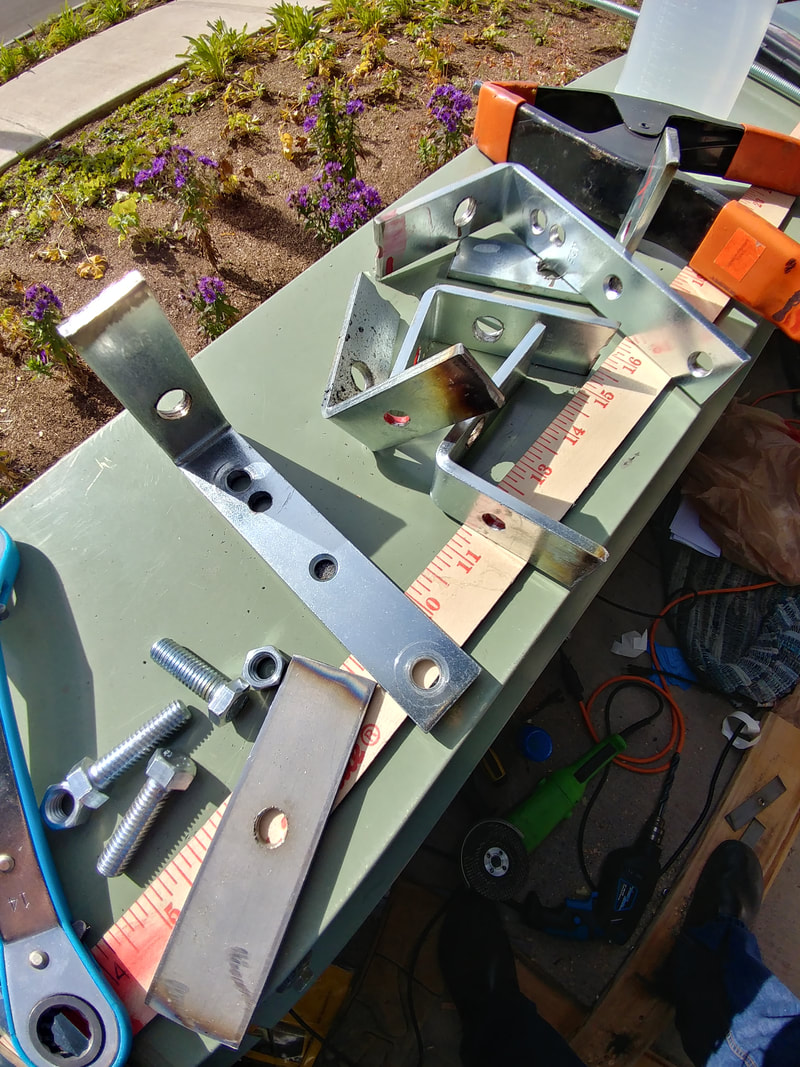 After everything was cut and drilled, I washed all the cutting oil off so that the rust protectant primer would stick 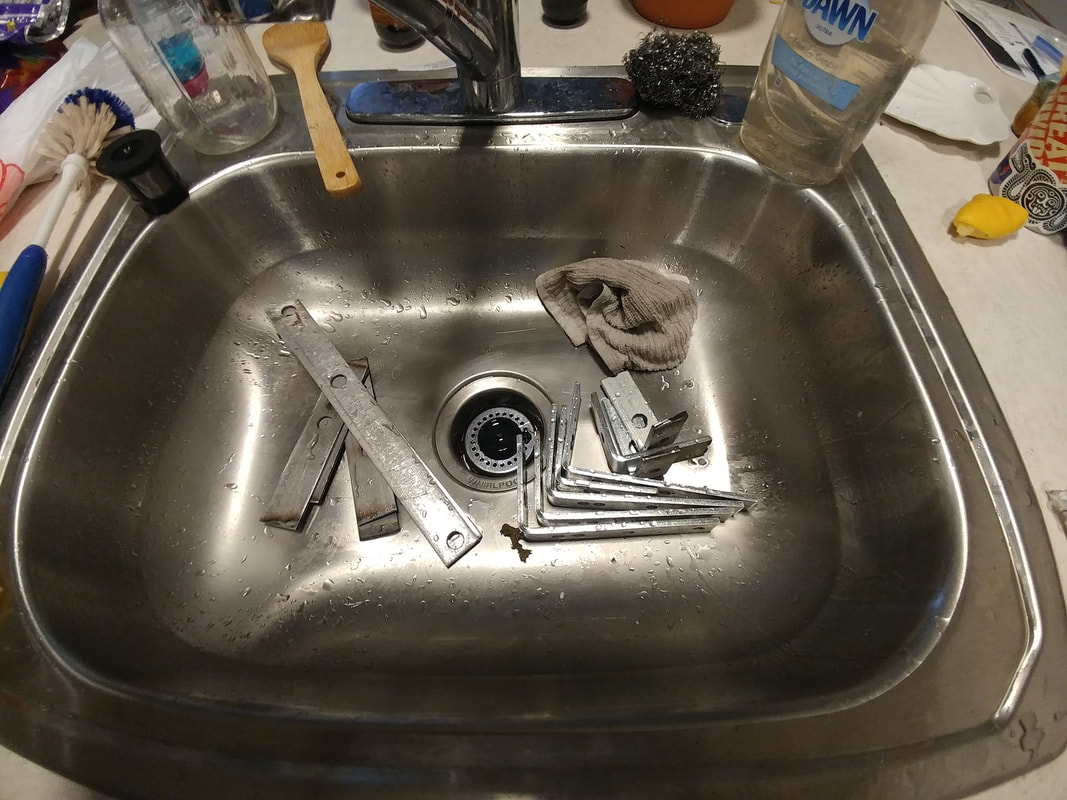 All the hardware and brackets, ready to be painted 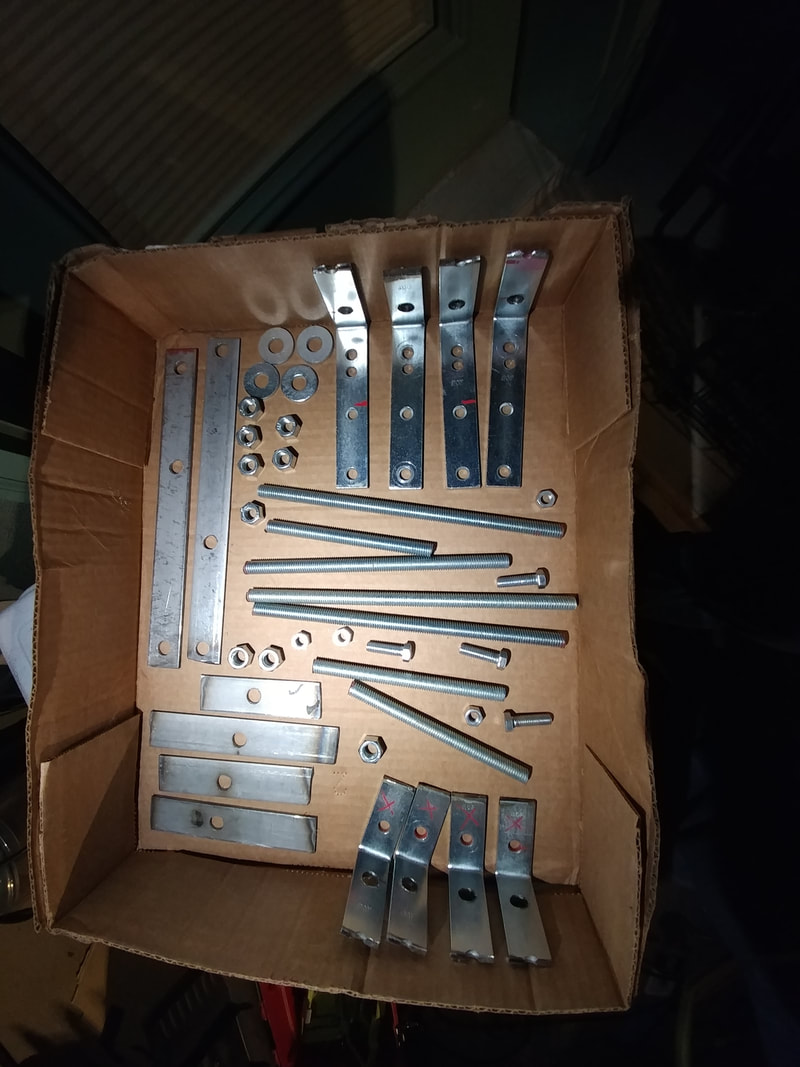 Here is how it looks all bolted up! Be sure to leave no bare metal, and use threadlock! 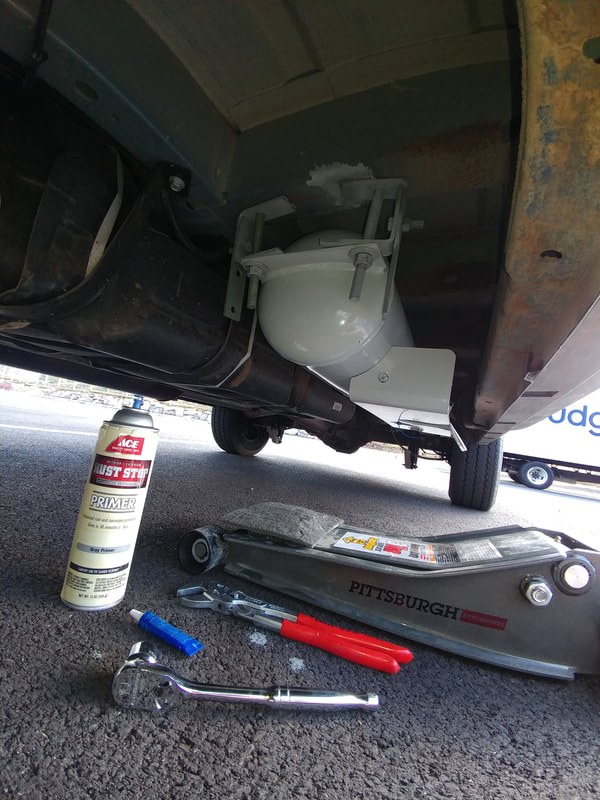 Here is how it looks on the end near the back with the metal crossbeams I needed to fabricate 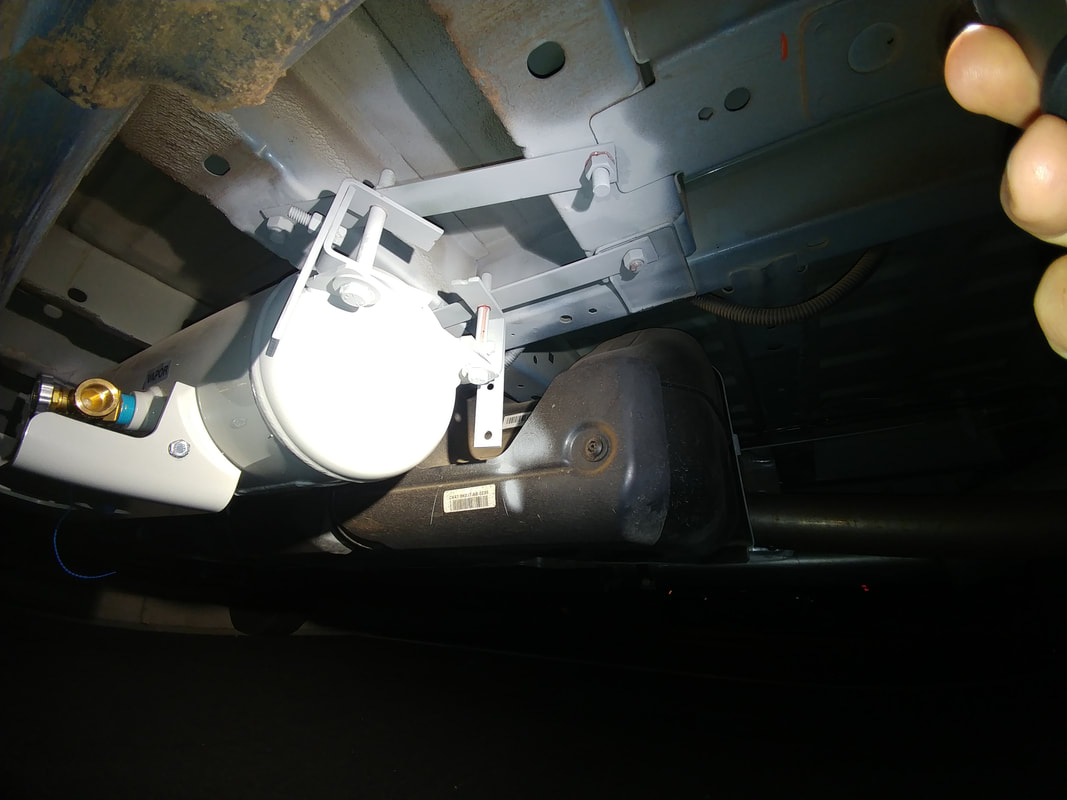 And here is how it looks from the van floor (just one of 6 bolt heads) 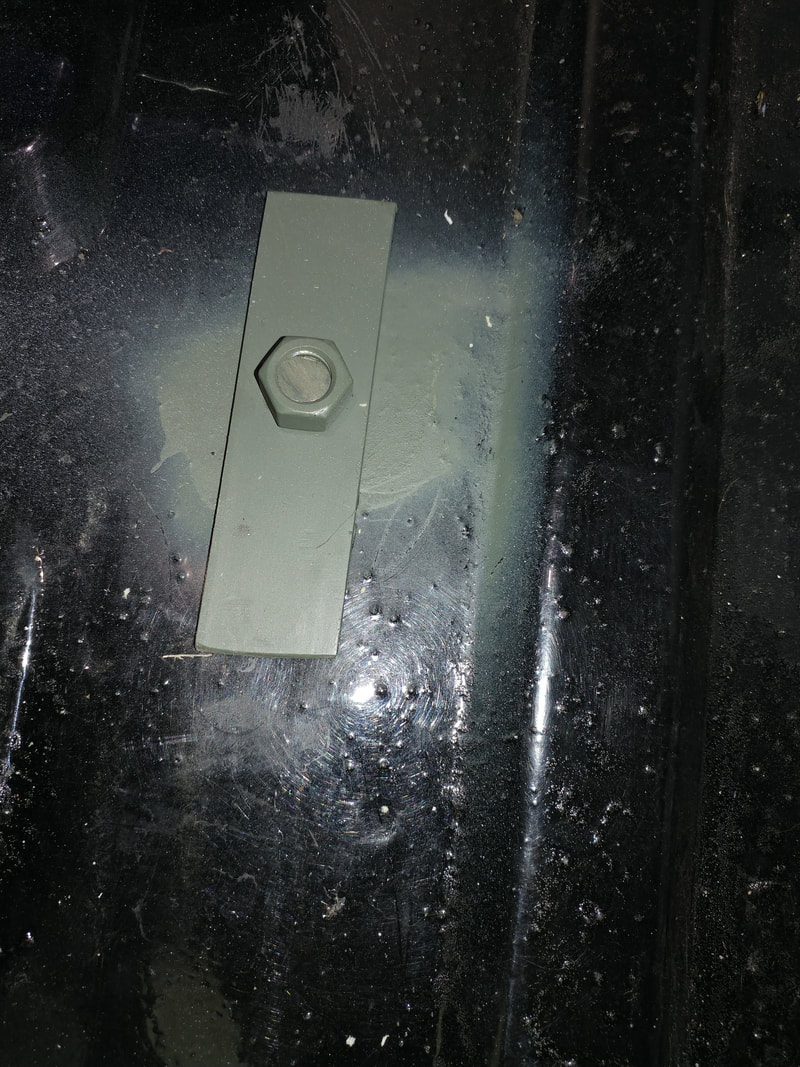 A word of caution, one of the bolts on the interior is on top of one of the floor ribs. I don't mind as I will be adding a sub floor over it and can drill a hole in the plywood to compensate.
This project wore me out, but it felt really good once it was all bolted up!
0 Comments
Leave a Reply. |
 RSS Feed
